Summary:
Getting Your Roof Replacement Quote and Initial Inspection
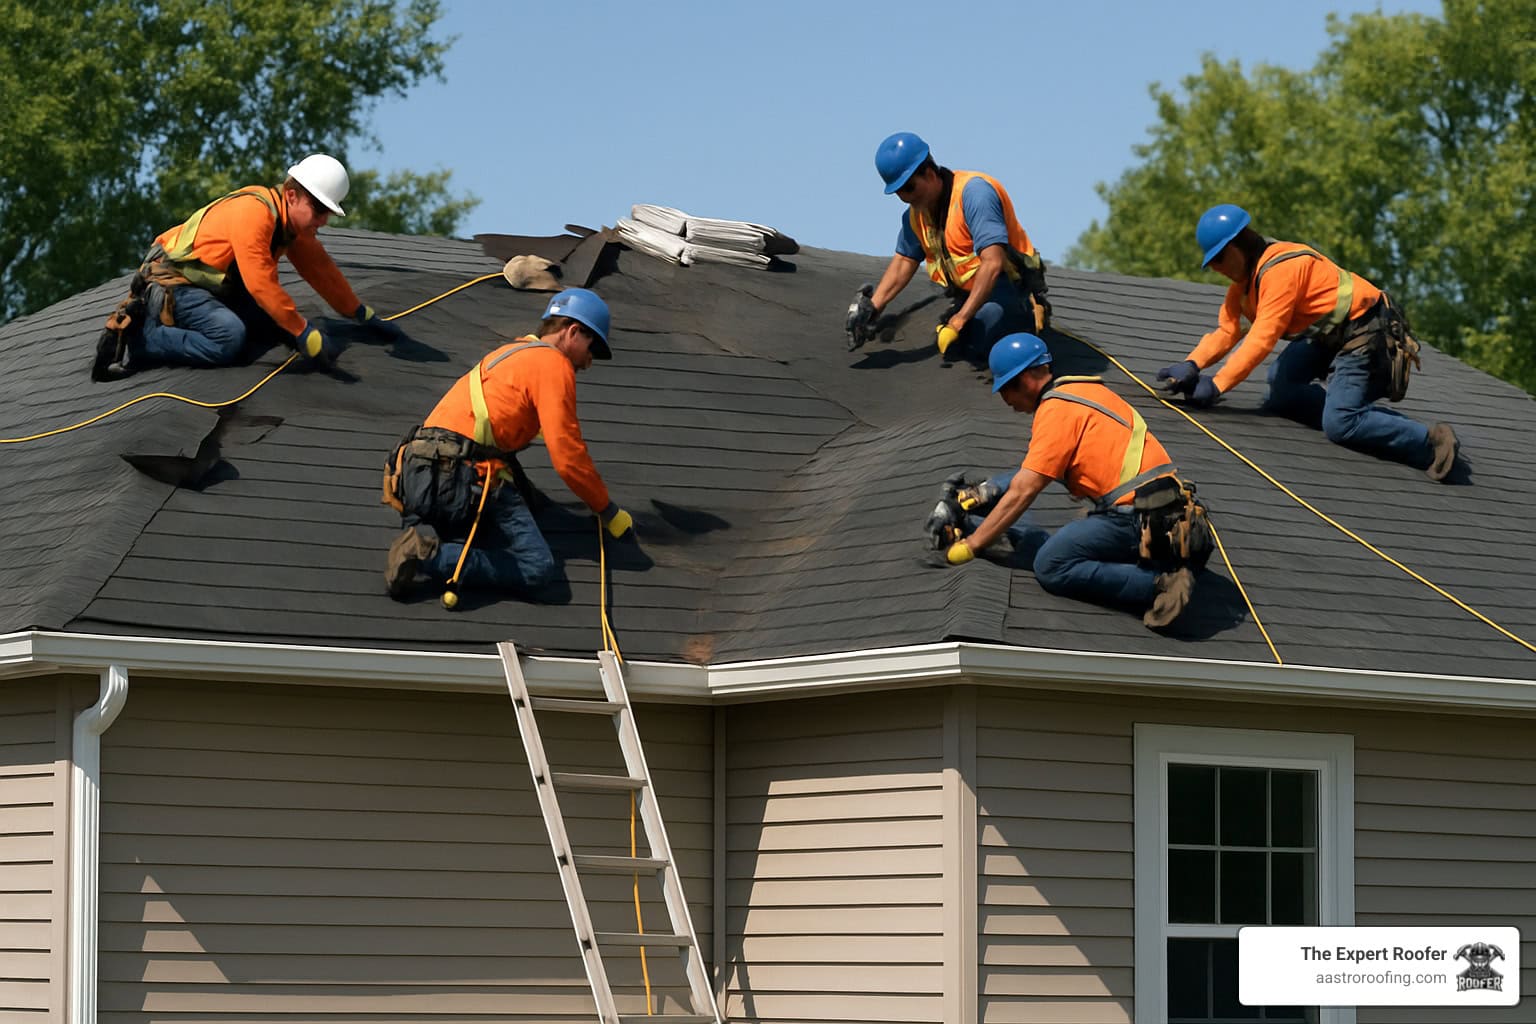
The roof replacement process starts with a thorough inspection and accurate quote. This isn’t just someone climbing up with a quick look—a professional assessment involves measuring your roof, checking for structural issues, and evaluating your current materials.
During our inspection, we photograph damage areas, test for soft spots in the decking, and check flashing around chimneys, vents, and other penetrations. We also assess your gutters, fascia, and soffit to determine if additional work is needed.
A detailed quote should include material specifications, labor costs, permit fees, and cleanup services. Don’t settle for a one-page estimate. We provide itemized breakdowns that help you understand exactly what you’re paying for and why.
What to Look for in a Comprehensive Roof Inspection
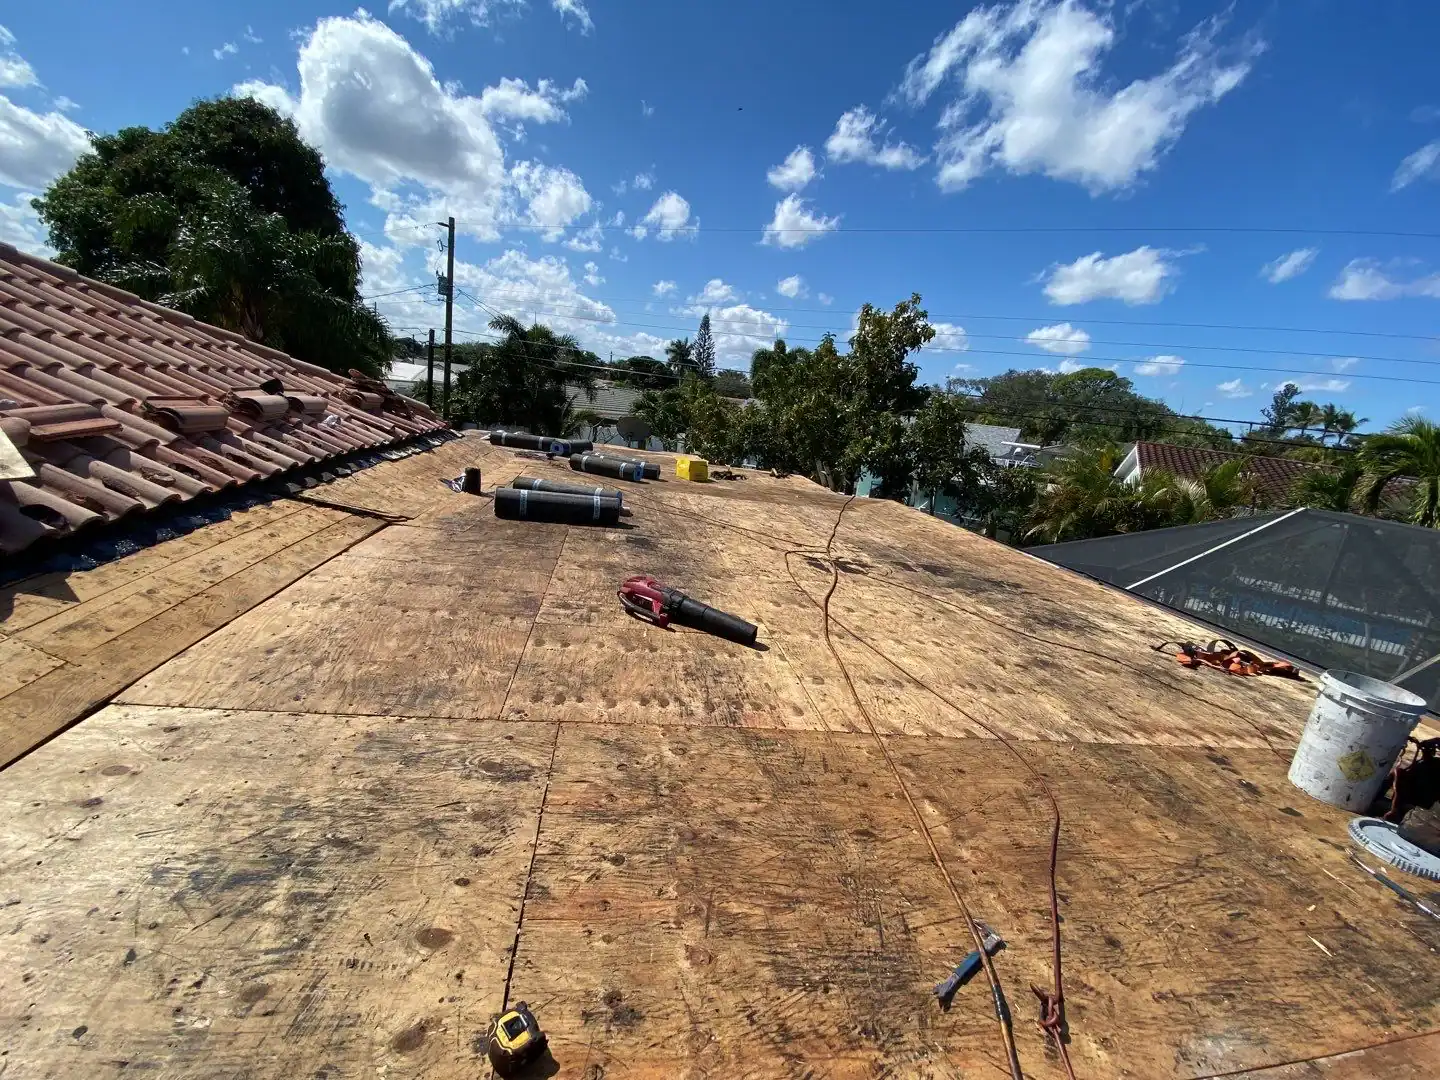
A thorough roof inspection goes far beyond just looking at your shingles. We examine the structural integrity of your roof decking, checking for any signs of water damage, rot, or sagging that could compromise your new roof’s performance.
The inspection includes your attic space, where proper ventilation is crucial for your roof’s longevity. Poor ventilation causes premature failure by creating excessive heat buildup that damages materials from underneath. We evaluate your current ventilation system and recommend improvements if needed.
Flashing inspection is equally critical. These metal strips around chimneys, vents, skylights, and roof valleys are common failure points. We test each flashing area and note any that need replacement during your roof installation.
Don’t overlook the gutters and drainage system. We check that water flows properly away from your home’s foundation. Gutters that pull away from the fascia or show signs of overflow can indicate underlying structural issues that need addressing before your new roof goes on.
Understanding Your Roof Replacement Quote Options
We provide multiple quote options rather than a single “take it or leave it” price. These options typically include different material grades, warranty levels, and additional services that let you customize the project to your budget and priorities.
Your basic option usually includes standard materials that meet code requirements and provide solid protection. The mid-tier option often includes upgraded materials like architectural shingles, enhanced underlayment, or extended warranties. The premium option typically features the highest-grade materials, maximum warranties, and additional services like gutter replacement or enhanced ventilation.
Each quote clearly specifies material brands, labor warranties, and what’s included in cleanup services. Pay attention to permit costs, which can vary significantly depending on your location and project scope. We include permits in our base price so you know exactly what to expect.
Be wary of quotes that seem significantly higher or lower than others. Extremely low bids often indicate corners will be cut on materials or labor quality. Extremely high bids might include unnecessary upgrades or inflated labor costs. We provide fair, competitive pricing that reflects quality materials and professional installation.
Material Selection and Pre-Installation Preparation
Once you’ve chosen us as your contractor, the next phase involves finalizing material selections and preparing for installation. This stage requires decisions about shingle types, colors, underlayment grades, and any additional components like ventilation upgrades or gutter replacements.
We help you understand the pros and cons of different materials for Florida’s climate. Factors like wind resistance, heat reflection, and durability against UV exposure all matter more here than in other parts of the country. The material choices you make now will impact your roof’s performance for decades.
Preparation also includes securing permits, ordering materials, and scheduling your installation around weather conditions. In Florida, timing matters—you want to avoid the rainy season when possible and ensure materials arrive when our crew is ready to install them.
Choosing the Right Materials for Florida's Climate
Florida’s intense heat, high humidity, and hurricane threats demand specific material considerations. Asphalt shingles remain the most popular choice due to their affordability and decent performance, but they typically last 15-20 years here versus the 25-30 years advertised for milder climates.
Architectural shingles offer better wind resistance and longer life than basic three-tab shingles. They’re designed with multiple layers that create dimensional texture while providing superior protection against wind uplift. For Florida homes, we recommend shingles rated for at least 130 mph winds.
Metal roofing is increasingly popular in Florida because it reflects heat, resists wind damage, and can last 40-70 years with proper installation. While more expensive upfront, metal roofs often pay for themselves through energy savings and reduced replacement frequency.
Tile roofing—whether clay or concrete—provides excellent durability and heat resistance but requires structural reinforcement due to weight. Tile roofs can withstand hurricane-force winds when properly installed and offer superior longevity, often lasting 50+ years.
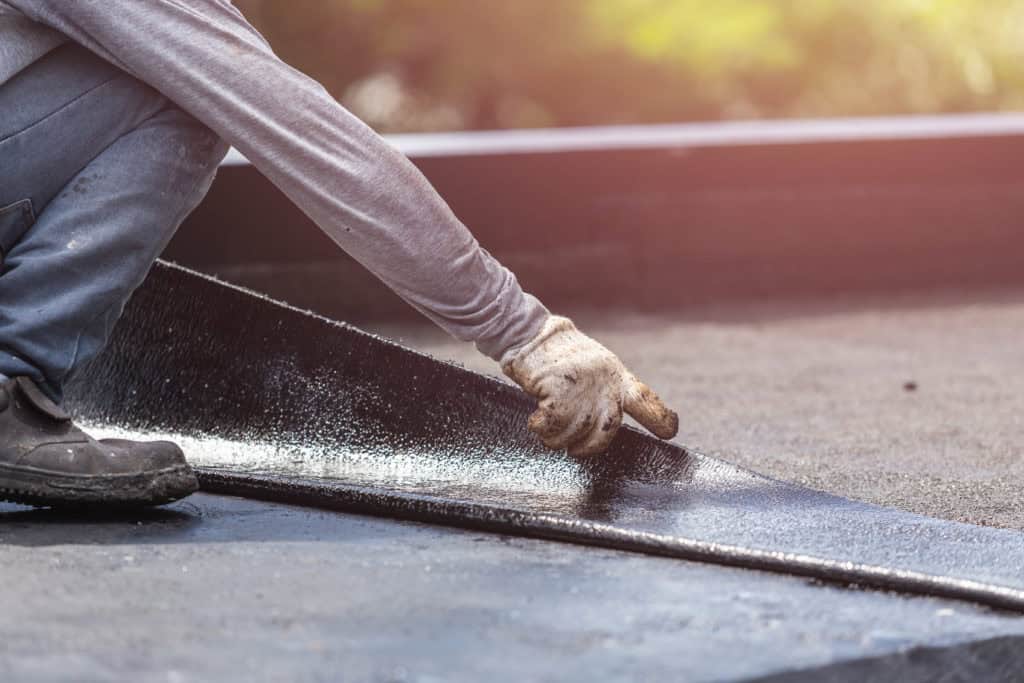
The underlayment choice is equally important. Synthetic underlayments outperform traditional felt in Florida’s climate, offering better moisture resistance and longer exposure periods during installation. Some insurance companies offer discounts for premium underlayment installations.
Permit Requirements and Installation Scheduling
Florida requires permits for all roof replacements, and the process varies by county and municipality. We handle permit applications for you, but understanding the requirements helps you avoid delays and ensures compliance with local building codes.
The permit process typically requires detailed plans showing material specifications, installation methods, and structural modifications. Building departments want to ensure your new roof meets current wind resistance standards and proper installation techniques. Processing times can range from a few days to several weeks, depending on your location and current workload.
Weather plays a crucial role in scheduling your installation. The dry season from November through March offers the most reliable installation windows, while summer months bring daily afternoon thunderstorms that can delay progress. We have contingency plans for weather delays and communicate schedule changes promptly.
Material delivery timing requires coordination between us, suppliers, and our installation crew. Materials exposed to weather for extended periods can suffer damage, so delivery should align closely with installation start dates. We inspect all materials upon delivery and document any shipping damage before installation begins.
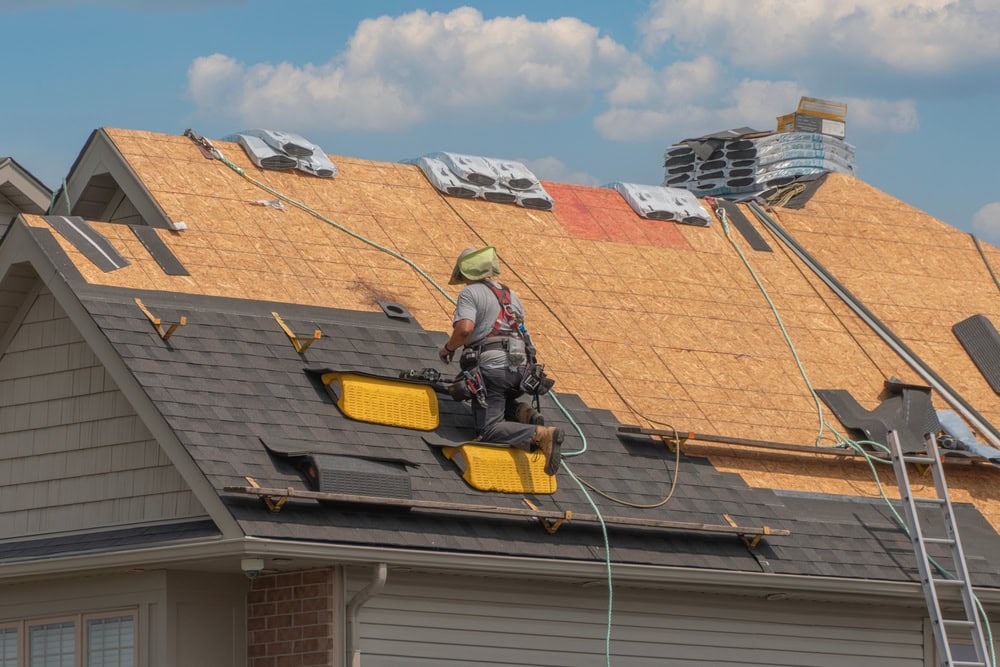
Professional Installation and Project Completion
The actual installation phase involves systematic removal of old materials, structural repairs, and installation of your new roofing system. We follow specific sequences to ensure quality and weather protection throughout the process.
Installation typically begins with protecting your property—covering landscaping, moving outdoor furniture, and setting up debris containers. The old roof comes off in sections, allowing inspection of the underlying structure and immediate installation of new materials to maintain weather protection.
Your new roof goes on in layers: decking repairs first, then underlayment, then flashing and ventilation components, and finally your chosen roofing material. Each step requires inspection and approval before moving to the next phase. The final steps include cleanup, final inspection, and warranty documentation. When you work with us at Aastro Roofing Company, you can expect this systematic approach that protects both your investment and your peace of mind.